
On Saturday the 14th of March we organized a Bolt Action scenario day at my gaming club (www.nopat.fi). This concept, which we've previously used with Flames of War to great effect, works so that we have a number of pre-arranged scenarios with the terrain and miniatures already set up on the boards. The gamers take turns playing the various scenarios and in this way get the chance to try out new armies and tactical situations. This method also enables us to put more effort into planning the scenarios.
Over the course of the day, we had four scenarios set up and some 13 gamers all-together. The scenarios worked out well and were quite diverse. US Marines fought the Japanese in a chaotic night-time jungle fight across Alligator Creek. On another table British Paras made a daring raid on a German HQ and a third table saw Winter War Soviet forces attempting to knock out a Finnish bunker and/or take prisoners. The game I ran (as an umpire) was my interpretation of the final battle scene from Saving Private Ryan: the battle for the bridge at Ramelle.
The scenario can be found here:
http://napoleon-complex-gaming.blogspot.fi/p/scenarios.html
As the pictures below show, the table was very densely packed with buildings and I tried to throw in as much rubble, sandbags and debris as I possibly could to provide cover and hinder movement. The US player placed one demolition charge on both of the main avenues (on either side of the church). The Germans set up their Panzer IVs to advance down both roads with infantry close behind in support. The US player placed their bazookas quite far forward covering both avenues. The infantry was kept further back and spread evenly between the right and left flanks. The centre was devoid of US forces, except for the sniper who (obviously) took up positions in the bell tower.
 |
| The table and the gamers |
 |
| The German left - infantry set up to advance down the aisle and in the centre whilst the Panzer will head down the road |
 |
| German right - the Panzer is closely supported by the third infantry squad |


 |
| US infantry and the machine gun take up positions to cover the alley on the German left |
 |
| US sniper selects his next target |
The Germans on the left advanced directly into the murderous fire of the defenders down the alley and the sniper in the bell tower. Taking heavy casualties, the SS-men ducked into cover. Their situation would not get better any time soon and the squad would remain pinned down in this position for most of the game.


While the infantry on the left were taking a pummelling, the Panzer advanced in stride down the left alley. It didn't get far though, since an excellently positioned bazooka team surprised it with plunging fire. The first shot went a bit wide, but none-the-less took out one of the tanks tracks. Unperturbed, the team took aim at the now stationary behemoth and destroyed it with a well-placed hit in the joint combining the turret with the hull!

On their right flank the German infantry advanced in front of the Panzer, which gave them fire support against a heavily armed squad of paratroopers and rangers taking fire from a nearby building. After a brief firefight the SS-men decided to assault the defenders. The attack proved extremely bloody, as both units were equally strong units of fanatic veterans armed to the teeth with automatic weapons. In the end, the SS-men were killed to a man, but only three Americans were left standing.
While the brutal close combat was taking place, the panzer was left without infantry support. The second bazooka team seized the opportunity to sneak up into a close-range enfilading position. A carefully aimed shot was all it took to detonate the second panzer as well!


The repositioning came in the nick of time, for the lead SS-squad had just occupied the central building covering the riverside plaza and the bridge. With fire coming in from all sides, this squad became extremely pinned down. However, the respite didn't last long, for while they had been pouring lead on the foremost German unit, a second unit had advanced to within striking range behind the blue building you see in the pictures below.


It was too late for the Americans to make it across the bridge. The retreating infantry squad was assaulted by the Germans and hacked down. The second German squad advanced into the open with their guns blazing. Only captain Miller was left wounded on the bridge (his two aides had been shot), whilst the remaining Americans were too far to the side and on the wrong bank of the river to be able to prevent the Germans from taking the river.


While the infantry on the left were taking a pummelling, the Panzer advanced in stride down the left alley. It didn't get far though, since an excellently positioned bazooka team surprised it with plunging fire. The first shot went a bit wide, but none-the-less took out one of the tanks tracks. Unperturbed, the team took aim at the now stationary behemoth and destroyed it with a well-placed hit in the joint combining the turret with the hull!
On their right flank the German infantry advanced in front of the Panzer, which gave them fire support against a heavily armed squad of paratroopers and rangers taking fire from a nearby building. After a brief firefight the SS-men decided to assault the defenders. The attack proved extremely bloody, as both units were equally strong units of fanatic veterans armed to the teeth with automatic weapons. In the end, the SS-men were killed to a man, but only three Americans were left standing.
 |
| German assault on the right |
With both panzers destroyed, the squad on the right destroyed and the squad on the left pinned down, things were not looking good for the Germans. However, the German reserves were arriving in good order. Both infantry squads advanced down the German right whilst the machine gun team and wespe self-propelled howitzer took up positions to cover the right. The remaining German squad from the first wave was also intact and had advanced into the church dominating the centre of the battlefield. Some casualties were caused by one of the US-placed demolition charges, but this was not enough to significantly weaken the advance in the centre.
The American position was threatened, for although they had blocked German advances on the right and left, their centre was virtually undefended. One bazooka team was shot down with a well-placed 37mm round from the SdKfz 251/10 and the sniper was eliminated by assaulting German infantry. A US repositioning was in order. The remaining paras that had won the assault on the German right started to disengage towards the Alamo, whilst the American defenders on the opposite flank also moved into positions where they could cover the the central square better.
The repositioning came in the nick of time, for the lead SS-squad had just occupied the central building covering the riverside plaza and the bridge. With fire coming in from all sides, this squad became extremely pinned down. However, the respite didn't last long, for while they had been pouring lead on the foremost German unit, a second unit had advanced to within striking range behind the blue building you see in the pictures below.
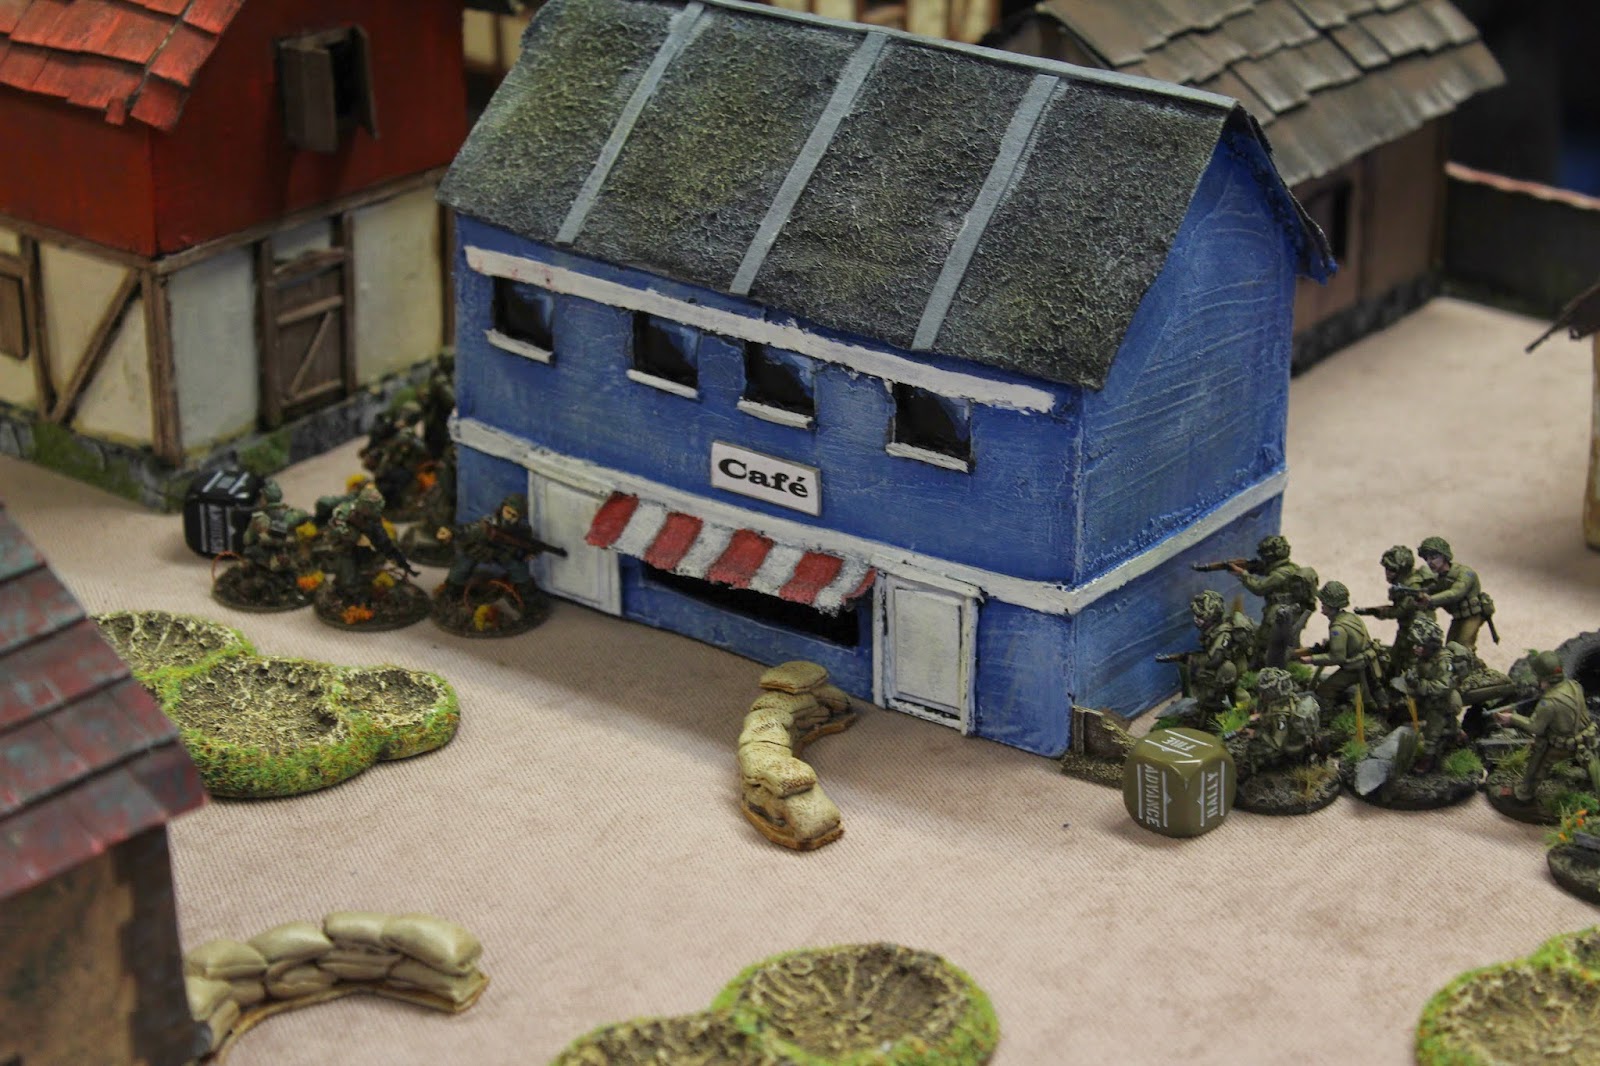 |
| Tense moments around Café de Ramelle |
The American position deteriorated fast after this. The SS-men pinned down in the centre managed pass an order test to assault and charged across the plaza at the outnumbered defenders. The SS-men fared poorly and were cut down. The reduced squad of American veterans fell back towards the Alamo.
The Americans didn't get far though, as they took murderous fire from the German squad that had now advanced into the blue building and the last of the German reserve squads, which took up positions in the central building that the assaulting SS-squad had just vacated.
It was too late for the Americans to make it across the bridge. The retreating infantry squad was assaulted by the Germans and hacked down. The second German squad advanced into the open with their guns blazing. Only captain Miller was left wounded on the bridge (his two aides had been shot), whilst the remaining Americans were too far to the side and on the wrong bank of the river to be able to prevent the Germans from taking the river.
The Germans were just about to overwhelm the remaining defenders, when suddenly a burst of .50 cal rounds and the explosion of a 75mm shell on the roof of the blue building announced the arrival of the American reserves. We failed to roll an eighth turn and, consequently, the game ended. The US player still held the bridge (barely!) and, with the timely arrival of the reserves, the victory was theirs!
This was a great and really cinematic game. I was a bit uncertain about how it would all play out since this was the first time I was running this custom scenario. There was a real risk that the German tanks would prove too hard a nut to crack and would just roll over the bridge. Instead, they proved to be paper tigers (or paper panzers to be exact). The US player certainly had many advantages in this scenario, but ultimately it was the fact that they just didn't have enough men to simultaneously cover every avenue of advance which very nearly cost them the game. This resulted in a nicely fluctuating game and emphasized both co-ordination of fire and timely redeployment of forces.
The other games:
Below are some pictures of the three other games.
A battle report of the "chateau" game can be found on my friend's blog:
More pictures are also available in two other friends' blogs:
No comments:
Post a Comment